Maintaining your heating, ventilation, and air conditioning (HVAC) system is vital for keeping your home comfortable, energy-efficient, and free from indoor air pollutants. One of the most important yet often neglected tasks in HVAC upkeep is cleaning the air ducts. Over time, dust, dirt, pet hair, mold, and other debris can build up in your ducts, affecting the air quality in your home and potentially hindering your system’s performance.
Cleaning your HVAC ducts on your own can be a budget-friendly way to care for your system, but it requires careful attention and the right tools. This guide will take you through the step-by-step process of cleaning your heating and air conditioning ducts, offering expert tips on how to do it safely and effectively.
Why Clean Your HVAC Ducts?
Before you start the cleaning process, it’s essential to understand the reasons for cleaning your ducts. The main reasons to clean your heating and air conditioning ducts include:
Improved Air Quality
Dust, allergens, mold, and pet dander can accumulate in ducts, circulating throughout your home when the HVAC system is running. Cleaning your ducts can help reduce airborne pollutants, resulting in fresher, healthier air for you and your family.
Energy Efficiency
Over time, debris buildup can restrict airflow in your ducts, causing your HVAC system to work harder to heat or cool your home. Cleaning the ducts can enhance airflow, making the system more energy-efficient and potentially lowering your energy bills.
Enhanced HVAC Performance
A cleaner duct system can alleviate strain on your heating and cooling equipment, reducing the chances of breakdowns and extending the lifespan of your system.
Odor Removal
Dirt and mold buildup in your ducts can lead to unpleasant smells. Cleaning the ducts helps to get rid of these musty or stale odors.
Signs Your Ducts Need Cleaning
Before you start the cleaning process, it’s essential to recognize when your ducts require attention. Here are some common indicators that it’s time to clean your HVAC ducts:
Visible Dust or Debris: If you see dust or dirt around the vent openings or notice that the air coming from the vents is dusty, it’s a clear sign that your ducts are blocked.
Unexplained Allergies: If family members are experiencing heightened allergies, respiratory problems, or asthma symptoms, dust or allergens in the ducts might be the cause.
Musty Smells: If you detect musty or moldy odors from the vents, it could indicate mold or mildew growth in the ducts, which needs immediate cleaning.
Inconsistent Airflow: If some rooms in your home are noticeably colder or warmer than others, it may suggest a blockage or airflow issue in the ducts.
No Recent Cleaning: If it’s been several years since the ducts were last cleaned, it’s wise to schedule a cleaning to ensure good air quality.
Tools You’ll Need
Before you start cleaning your heating and air conditioning ducts, gather the necessary tools and materials. Here’s what you’ll need:
Vacuum Cleaner with a Hose Attachment: A vacuum with a long hose and strong suction is crucial for removing dust and debris from the ducts.
Duct Cleaning Brush: A long, flexible brush specifically designed for HVAC ducts can help dislodge stubborn dirt and debris inside.
Cleaning Cloths: Microfiber cloths are essential for wiping down the vents and registers.
Screwdriver: To take off vent covers or access panels.
Air Compressor (Optional): Useful for blowing out debris from the ducts.
Gloves and Mask: To protect yourself from dust and debris that may be present in the ducts.
Flashlight: To help you see inside the ducts.
Step-by-Step Guide to Cleaning Your HVAC Ducts
Step 1: Turn Off Your HVAC System
Before you start cleaning your ducts, make sure to turn off your heating and air conditioning system. This will prevent dust and debris from being blown into the air while you work, and it also protects your system from any potential damage during the cleaning process.
Step 2: Remove Vent Covers and Registers
Begin by taking off the vent covers from the walls, floors, or ceilings. Use a screwdriver to carefully unscrew the covers. If they are particularly dirty, you can wash them with warm soapy water before setting them aside to dry. Be sure to remember the direction of the vents so you can reinstall them correctly later.
Step 3: Inspect the Ducts
Use a flashlight to take a look inside your ducts. Check for any visible dust, debris, or signs of mold growth. If you find any mold, it’s best to call a professional to handle it, as mold can be tough to remove completely without specialized equipment and cleaning solutions.
Step 4: Vacuum the Ducts
Using the hose attachment of your vacuum cleaner, start vacuuming the inside of the ducts. Begin at the vent opening and work your way deeper into the ductwork. Move the hose around as much as you can to capture dust and debris. If your vacuum has a long hose, you can also attach an air compressor to help blow debris out of the ducts.
Vacuuming helps to eliminate loose dirt and dust, making it easier for you to clean the deeper sections of the ducts. If you can access the main duct trunk (where all the smaller ducts converge), be sure to vacuum it thoroughly as well.
Step 5: Use the Duct Cleaning Brush
For any stubborn debris that the vacuum can’t reach, grab a duct cleaning brush. Insert the brush into the ducts and gently scrub the walls to dislodge any built-up dirt, dust, or pet hair. Rotate the brush as you push it deeper into the ducts to ensure you clean as much surface area as possible.
Step 6: Wipe Down the Vents and Registers
Once the ducts are cleaned, use a microfiber cloth to wipe down the vent covers and registers. This helps to remove any dust that may have accumulated on the exterior of the vents. It’s also a good time to clean around the edges of the vent openings where dust can collect.
Step 7: Reassemble and Replace Filters
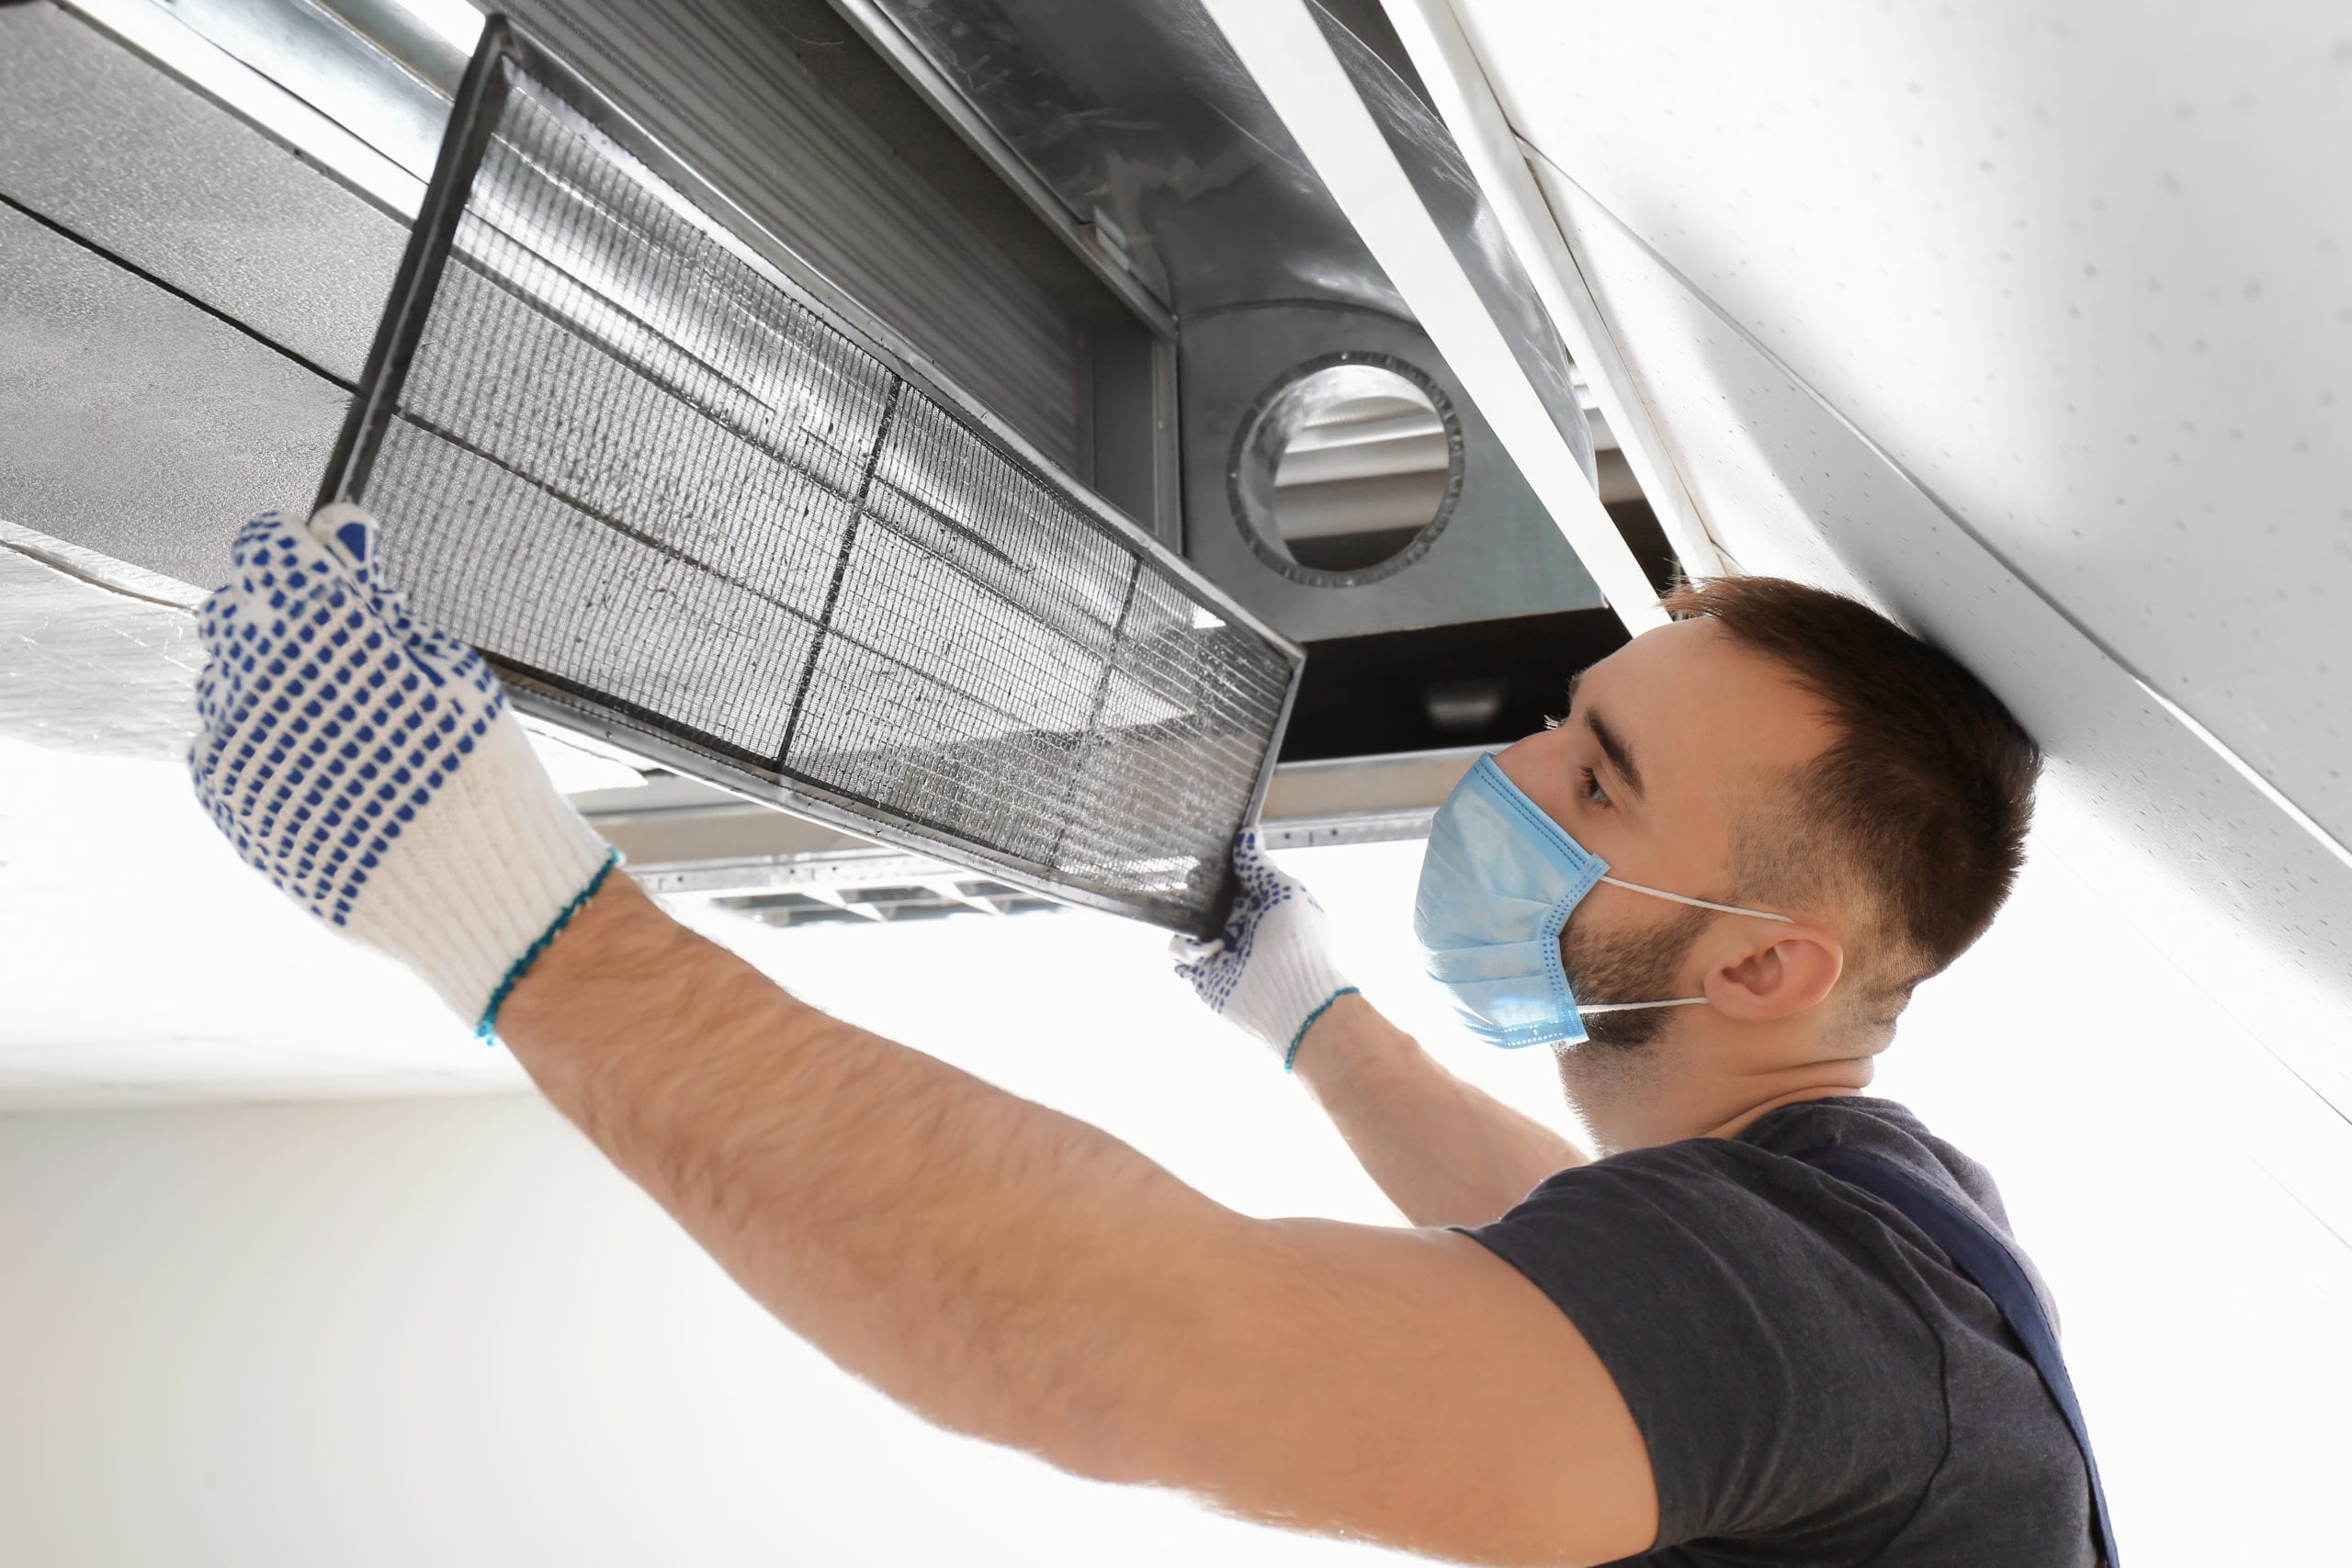
After cleaning the ducts and vent covers, it’s time to reassemble everything. Replace the vent covers, making sure they are securely screwed back in place. If your HVAC system has an air filter, this is the ideal time to replace it. Dirty filters can block airflow and reduce system efficiency, so installing a new filter ensures that the system will continue to run smoothly.
Step 8: Test Your System
Once you’ve completed the cleaning, turn your HVAC system back on and test it out. Check the airflow from the vents to ensure that the air is clear and free of dust. If the system appears to be running more efficiently and you notice an improvement in air quality, your duct cleaning efforts have paid off!
Tips for Ongoing Maintenance
While cleaning your ducts can enhance indoor air quality and system performance, regular maintenance is essential for keeping your HVAC system in top shape. Here are some ongoing maintenance tips:
Replace HVAC Filters Regularly: Change your filters every 1–3 months, depending on the filter type and whether you have pets or suffer from allergies.
Schedule Professional Duct Cleaning: Although DIY cleaning can be beneficial, it’s wise to arrange for a professional duct cleaning every 3–5 years to ensure a thorough job and to tackle any deeper issues.
Keep Your HVAC System Clean: Regularly clean your HVAC vents and registers to prevent dust accumulation. Also, check the exterior of your HVAC system to make sure it’s free from debris.
Conclusion
Cleaning your HVAC ducts on your own can save you money while enhancing your home’s air quality and HVAC efficiency. By following this step-by-step guide, you can help ensure that your heating and air conditioning system runs smoothly, providing you with clean, fresh air throughout the year. Always prioritize safety—wear gloves and a mask, and be sure to inspect the system for any issues that might need professional attention. Regular maintenance, including duct cleaning, will not only prolong the life of your system but also foster a healthier living environment for you and your family.


Leave a Comment