Heating and air conditioning systems play a crucial role in keeping our homes and workplaces comfortable. At the heart of these systems is the control panel, which allows users to adjust settings like temperature and modes. Knowing how to access this panel is important for troubleshooting, maintenance, or replacing components such as batteries.
This guide will take you through the steps to safely and effectively open your HVAC control panel, along with tips to avoid damage and ensure proper handling.
Why Access the HVAC Control Panel?
There are several reasons you might need to open the control panel:
Battery Replacement: Many control panels, particularly programmable thermostats, require batteries.
Troubleshooting: Accessing the panel can help identify issues like unresponsive buttons or incorrect readings.
Cleaning or Maintenance: Dust and dirt can build up inside, impacting performance.
Wiring Checks: If your system isn’t working, loose or damaged wires could be the issue.
Safety Precautions Before You Begin
Turn Off the Power
Always ensure the power supply to your HVAC system is turned off. Find the circuit breaker for your HVAC unit and switch it off. This step is essential to prevent electrical shocks.
Gather the Right Tools
Most control panels can be opened with basic tools such as:
- A small flathead screwdriver
- A Phillips screwdriver
- A flashlight for improved visibility
Read the User Manual
Different HVAC systems have unique panel designs. Check the user manual for specific instructions that apply to your model.
Avoid Static Electricity
Static discharge can harm electronic components. Before you handle the panel, touch a grounded metal object to release any static electricity.
Step-by-Step Guide to Opening the HVAC Control Panel
Step 1: Identify the Type of Control Panel
Control panels come in different designs, including:
Snap-On Panels: These are typical in modern systems and can be removed by gently pulling them off.
Screw-Secured Panels: Older or more complex panels may have screws that hold them in place.
Take a moment to inspect your panel to determine its design before moving on.
Step 2: Remove the Cover
For Snap-On Panels:
- Place your hands on either side of the panel.
- Apply gentle pressure and pull outward.
- The panel should come off easily without much effort.
For Screw-Secured Panels:
- Use a screwdriver to loosen the screws, which are usually found at the edges of the panel.
- Keep the screws in a safe spot to prevent losing them.
- Carefully lift or slide off the cover once the screws are removed.
Step 3: Inspect the Interior
After removing the cover, you’ll see the internal components. Depending on what you need to do:
Battery Replacement: Locate the battery compartment, which is often labeled or situated near the top. Replace the batteries with the correct type.
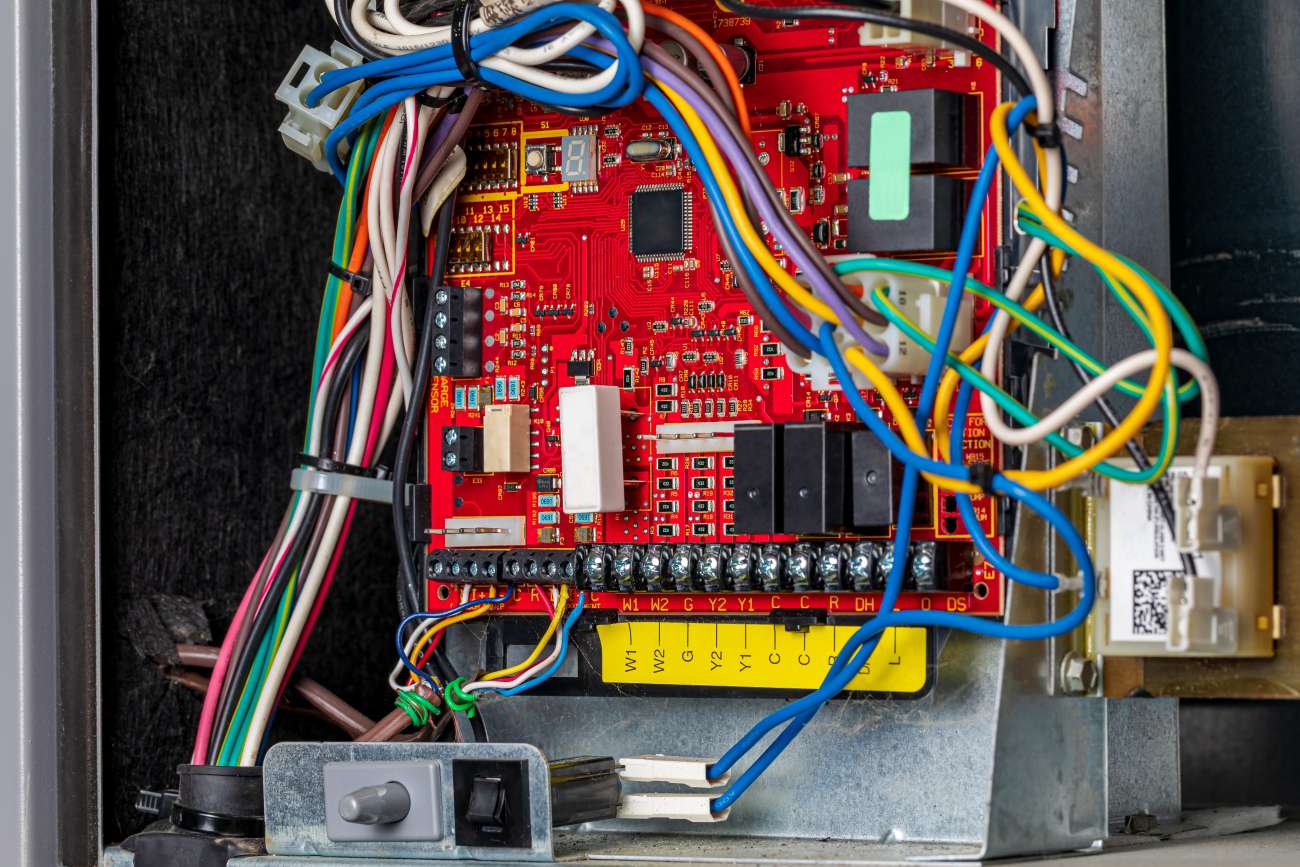
Wiring Check: Look for any signs of fraying, discoloration, or loose connections in the wires.
Cleaning: Use a soft brush or compressed air to gently remove dust and debris.
Step 4: Perform Necessary Tasks
Carry out the required maintenance or troubleshooting:
- Replace batteries or reset them if necessary.
- Tighten any loose connections.
- Look for burn marks or unusual odors, as these could indicate electrical problems.
Step 5: Reattach the Panel
For Snap-On Panels:
- Align the panel with the slots on the main unit.
- Gently press until you hear a click, ensuring it’s securely in place.
For Screw-Secured Panels:
- Position the cover back over the panel.
- Insert the screws and tighten them evenly to avoid any misalignment.
Step 6: Restore Power and Test
After securely reattaching the panel, turn the power back on at the circuit breaker. Check the control panel to make sure it’s working properly.
Troubleshooting Tips
If the control panel doesn’t respond after you’ve put it back together:
Check the Batteries: Make sure they are installed correctly and not expired.
Inspect Wiring Connections: Open the panel again to confirm that all wires are securely connected.
Consult the Manual: Look over the troubleshooting section for your specific model.
Call a Professional: If the issue continues, reach out to an HVAC technician for help.
Advanced Tips for Enthusiasts
Label Wires Before Removal: If you need to disconnect any wires, use masking tape to label them for easier reassembly.
Use a Multimeter: For more detailed diagnostics, a multimeter can be useful for testing voltage and continuity.
Upgrade Your Thermostat: While you have the panel open, think about upgrading to a smart thermostat for improved energy efficiency and remote control options.
When to Seek Professional Help
Although accessing the control panel is relatively simple, some situations may require professional assistance:
Ongoing electrical issues
- Damaged wires or components
- Complex HVAC systems with advanced control panels
- Professionals possess the tools and expertise to address these issues safely and effectively.
Conclusion
Knowing how to access your heating and air conditioning control panel is a valuable skill that can save you both time and money. By following this step-by-step guide, you can safely open the panel, carry out basic maintenance, and troubleshoot common problems. Always prioritize safety, use the appropriate tools, and consult professionals for more complicated issues.
With a bit of care and attention, you can keep your HVAC system operating smoothly and efficiently for many years.


Leave a Comment